Making Teapots
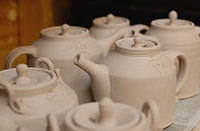
Hi. I'm Paul and I'm documenting the way I make teapots. I'm doing this because, first of all, I love making teapots, and secondly because I want to draw you into the world of tea … and thirdly because I am starting a new pottery business named Waverly Teapots.
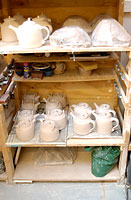
Here's my work space at the Lillstreet Art Center where I am a member. As you can see, I've been making teapots recently and I'll share with you now the technique of assembling a teapot.
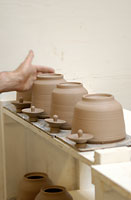
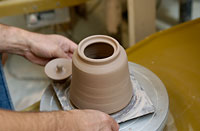
The wet clay was thrown at the wheel yesterday. Today, the stage is set. The clay is hard but damp to the touch, and the pieces are ready to assemble. The body and the lid for several teapots here await trimming and fitting. Let's begin.
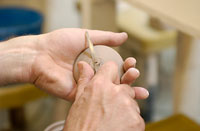
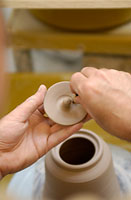

I carve away excess clay from the underside of the lid, and then puncture a whole thru the damp clay that becomes the vent hole for steam in the final piece.
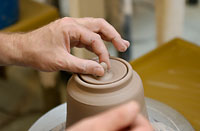
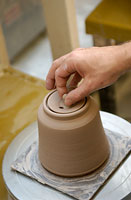
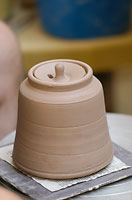
No surprises. The lid fits the body. Now let's trim the bottom of the pot to make it smooth and finish the appearance of the foot.
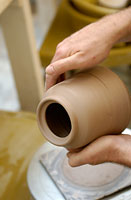
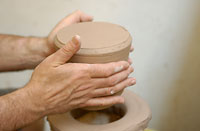
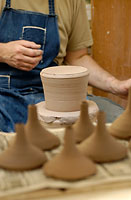
Over she goes. I invert the pot and carefully place it in a receiving chuck that is cushioned with a soft clay collar so I can work on the bottom of the pot without marring the shoulder.
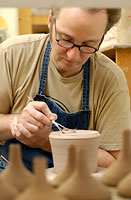
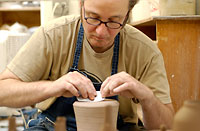
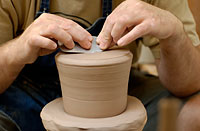
First I trim away clay from the bottom that would only make the pot heavy if it were left there. Then I smooth from the inside out with a sharp edge known as a metal rib.
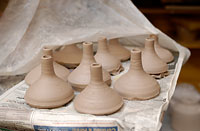
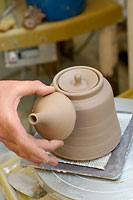
Spouts! Yes, it is time to consider the spout. Where shall I attach it and how is the size relationship to the pot? Satisfied with the proportions, we press on.
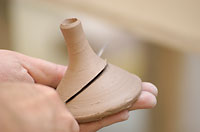
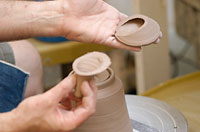
I cut the spout at an angle for good pouring. The unused portion of the spout won't go to waste. It goes back in the clay bin for the next project.
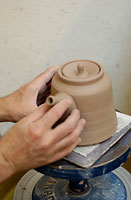
I dry fit the spout on the pot.
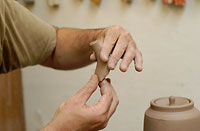
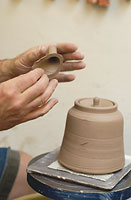
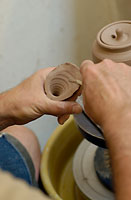
I form the curves by modeling by hand and by carving.
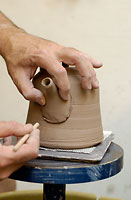
When the spout is fully formed and ready to be attached, I draw a line around the spout to show me the exact position.
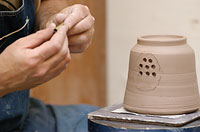
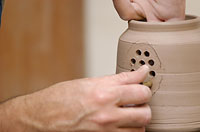
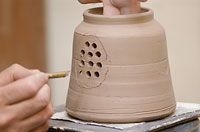
Within that guide line, I begin pushing the holes through which the tea will flow. Some potters make one big hole at the spout, but I prefer to make a series of small holes that form a crude screen. Traditionally the screen is there for the use of loose tea so that fewer leaves pour into your cup. It's kind of a moot point though if you're using a tea bag … Oh well.
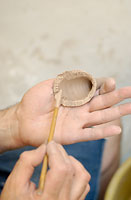
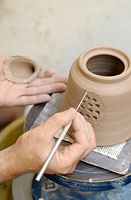
Now we're ready to attach the spout permanently. The glue is wet clay called slip. I scratch both surfaces where they'll meet and I paint slip on both surfaces too. Techniques such as this go back millenniums! It's called slipping and scoring.
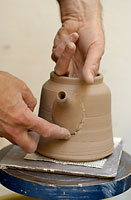
Applying pressure from the outside and the inside, the spout is attached and the seam is smoothed. I think we're ready for the handle.
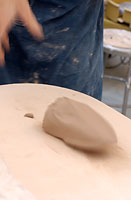
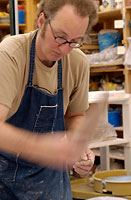
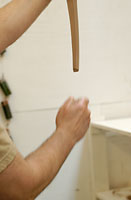
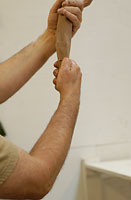
At lightning speed, here you see me form a carrot shaped piece of clay. Then I hold it above a bucket of water, get my hands wet and repeatedly draw my hand down the wet carrot of clay.
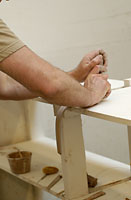
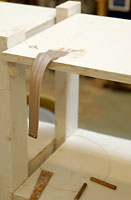
Then I sort of schmoosh it on the edge of a table and let it rest in the arched form.
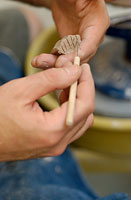
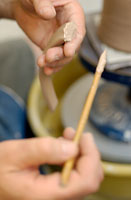
To attach the handle, I again use the slipping and scoring method. Good solid basic ceramic joinery.
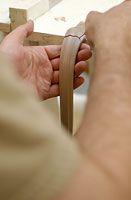
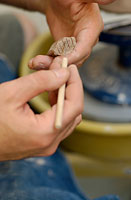
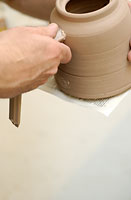
After the handle rests for a moment, I cut it off, slip and score the end and push gently to join the handle at the top.
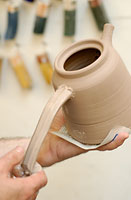
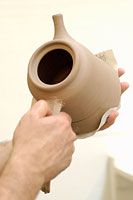
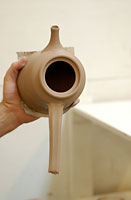
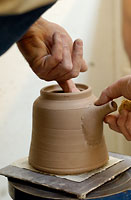
With a wet hand, I continue to steadily draw down the clay as it hangs down from the pot. There is no doubt that this type of forming takes a great deal of practice. To other potters out there, don't let handles scare you. They just take practice.
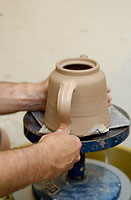
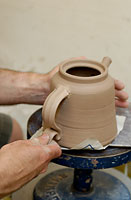
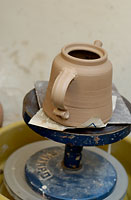
With an eye toward a graceful curve, I arch the handle and attach it in place at the bottom. I like to add a small flourish at the end.
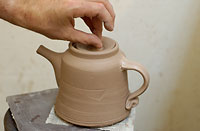
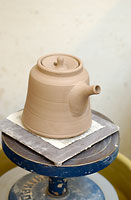
Put the lid in place and we're good to go. A day or two to dry and then into the fire.
